How to Do Pixel Art in Photoshop: A Technique Deep-Dive
Master how to do pixel art in Photoshop with this technique deep-dive. Learn exact grid, pencil, indexed color, and export settings.
The optimal Adobe Photoshop settings for pixel art require disabling all anti-aliasing features to maintain crisp edges. Set your global interpolation to Nearest Neighbor (Hard Edges), use the Pencil Tool instead of the Brush Tool, and configure your canvas grid to 1x1 pixels. This guide is designed for indie game developers, digital illustrators, and hobbyist pixel artists who need precise control over Adobe Photoshop for retro-style artwork.
TL;DR: Key Takeaways
- Set global image interpolation to Nearest Neighbor (Hard Edges).
- Use the Pencil Tool with 100% opacity and 0% hardness.
- Configure your canvas grid to 1x1 pixels for precise placement.
- Export using PNG-8 or PNG-24 with all metadata and resizing disabled.
Essential Canvas and Grid Configuration
Setting Up the 1x1 Pixel Grid
A properly configured grid is the foundation of precise pixel placement. Navigate to Edit > Preferences > Guides, Grid & Slices in Adobe Photoshop. Set the Gridline every value to 1 pixels and the Subdivisions to 1 pixels. This ensures every grid square represents exactly one pixel on your canvas.
Enable the grid overlay by pressing Ctrl+' (Windows) or Cmd+' (Mac). Snap-to-grid functionality should remain disabled to allow for fluid cursor movement while drawing. Rely on the visual grid rather than magnetic snapping to maintain complete manual control over your artwork.
Color Depth and Resolution
Pixel art relies on strict color limitation and specific resolution standards. Always set your document color mode to RGB Color and your bit depth to 8-bit to ensure compatibility with modern game engines. Set the document resolution to 72 PPI, which is the standard display resolution for web and screen graphics.
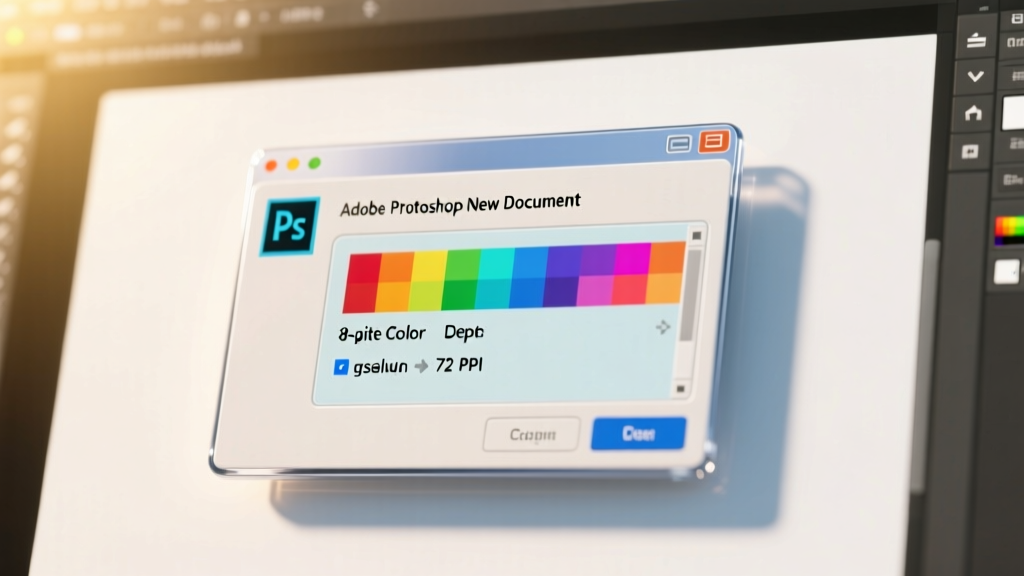
Working in a higher bit depth introduces color values that cannot be accurately represented in restricted retro palettes. Keeping your color depth at 8-bit prevents accidental color banding and ensures your exported palette remains clean and optimized.
Brush, Eraser, and Selection Tool Settings
Pencil Tool vs. Brush Tool
The most common mistake beginners make is using the standard Brush Tool for pixel art. The Brush Tool applies anti-aliasing by default, creating soft, blurry edges that ruin the pixelated aesthetic. You must use the Pencil Tool, which places solid, hard-edged pixels without any color blending.
| Feature | Pencil Tool (Recommended) | Brush Tool (Avoid) |
|---|---|---|
| Edge Hardness | Always 100% hard | Variable, often soft |
| Anti-aliasing | Disabled completely | Enabled by default |
| Opacity Control | Set to 100% opacity | Pressure-sensitive opacity |
| Auto-Erase | Available in options bar | Not available natively |
Eraser and Marquee Configurations
Your Eraser Tool must also be configured to prevent unwanted blending. Select the Eraser Tool and change the mode from Brush to Pencil in the top options bar. Set the eraser opacity to 100% and the flow to 100% to ensure complete pixel removal with a single click.
For the Rectangular Marquee Tool, ensure the Feather value is set to 0 pixels. Disable the Anti-alias checkbox on the Lasso and Magic Wand tools. This guarantees your selections perfectly align with the pixel grid without capturing partial pixel data.
Image Scaling and Interpolation Rules
Configuring Nearest Neighbor (Hard Edges)
Image interpolation dictates how Adobe Photoshop calculates new pixels when resizing a canvas. Navigate to Edit > Preferences > General and locate the Image Interpolation dropdown menu. Select Nearest Neighbor (Hard Edges) as your global default setting to prevent automatic blurring during transformations.
Definition: Nearest Neighbor Interpolation
Nearest Neighbor Interpolation is an image scaling algorithm that duplicates existing pixels to enlarge an image without calculating new color values. This preserves the hard, sharp edges required for retro graphics, preventing the blurry artifacts generated by bicubic or bilinear scaling methods.
According to the Adobe official documentation on image interpolation, Nearest Neighbor is the only method that preserves hard edges in bitmap graphics. If you use Bicubic or Bilinear scaling, Adobe Photoshop will inject fractional color values that destroy your carefully crafted pixel boundaries.
Transform Tool Best Practices
When using the Free Transform tool (Ctrl+T or Cmd+T), always scale your pixel art in exact integer percentages. Scaling a sprite by 200%, 300%, or 400% maintains perfect pixel duplication. Scaling by arbitrary values like 153% will force the software to calculate partial pixels, resulting in visual distortion.
Exporting Pixel Art Without Quality Loss
Save for Web Legacy vs. Export As
Exporting pixel art requires strict adherence to lossless file formats. The most reliable method is using the Save for Web (Legacy) feature found under File > Export. Select either PNG-8 or PNG-24 depending on your color count, and ensure the Image Size dimensions match your canvas exactly.
Definition: Anti-aliasing
Anti-aliasing is a digital rendering technique that adds semi-transparent intermediate pixels along the edges of shapes to create the illusion of smoothness. In pixel art, this destroys the crisp, blocky aesthetic by introducing unintended color blending and blurry boundaries.
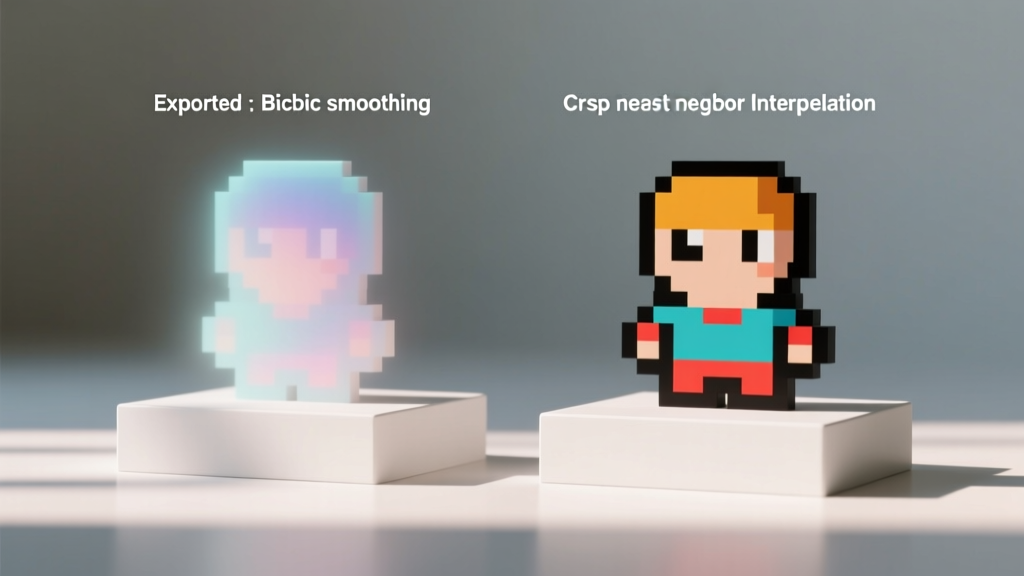
Never export pixel art as a JPEG, as the lossy compression algorithm will introduce severe artifacting and color shifting around sharp edges. Disable all metadata embedding to keep your file sizes lightweight for game engine integration. Refer to the Adobe Photoshop tool configuration guide for advanced export automation scripts.
Frequently Asked Questions
How do I stop Adobe Photoshop from blurring my pixel art?
Blurring occurs when anti-aliasing or bicubic interpolation is active. Stop this by switching your global interpolation preference to Nearest Neighbor (Hard Edges). Additionally, ensure you are using the Pencil Tool rather than the Brush Tool, and verify that your transform scaling uses exact integer percentages.
What is the best brush for pixel art in Adobe Photoshop?
The Pencil Tool is the absolute best and only recommended brush for drawing pixel art. It places solid blocks of color with 0% hardness and zero anti-aliasing. You can adjust the Pencil Tool size to 1 pixel for detailed work or increase it to 2 or 3 pixels for blocking in larger shapes.
How do I resize pixel art in Adobe Photoshop without losing quality?
To resize without quality loss, open the Image Size dialog and set the resampling method to Nearest Neighbor (Hard Edges). Input your new dimensions using exact multiples of your original size, such as scaling a 32x32 pixel canvas to 64x64 pixels. This ensures pixels are duplicated evenly without generating blurry intermediate colors.
Conclusion and Next Steps
Configuring these Adobe Photoshop settings for pixel art guarantees your sprites remain sharp, intentional, and free of unwanted algorithmic blending. Your next step is to open a new 32x32 pixel canvas, apply the pre-flight checklist above, and draw your first character sprite using the Pencil Tool.
Related guides
Typography Deep-Dive: Drawing a Lowercase a in Pixel Art
Master pixel art typography by learning how to draw a lowercase a in pixel art. Explore grid constraints, bowl-to-stem ratios, and anti-aliasing.
How to Do Opalescence in Pixel Art: Step-by-Step Tutorial
Learn how to do opalescence in pixel art with this step-by-step tutorial. Master hue-shifting, dithering, and iridescent shading for magical sprites.
How to Create Pixel Art in Illustrator: A Vector Grid Deep-Dive
Learn how to create pixel art in Illustrator using vector grids, snap-to-pixel alignment, and precise export workflows for crisp, scalable sprites.