How to Make Minecraft Pixel Art From a Photo: Step-by-Step Guide
Convert any photograph into a Minecraft-ready pixel art blueprint. Set pixel size to 16-32px, reduce the palette to 16-32 colors matching wool/concrete/terracotta, and export a PNG where each pixel maps to one in-game block.
To pixelate an image for Minecraft, reduce the photo's resolution to match your desired block dimensions (e.g., 64x64 pixels), then map each pixel to the nearest available Minecraft block color using a palette-mapping tool or indexed color mode. This process translates standard RGB values into a restricted block palette, allowing you to construct the image block-by-block in-game.
This guide is designed for Minecraft survival builders, creative mode architects, and server administrators looking to translate real-world photos into massive block-by-block mosaics. Whether you are building a memorial, a server spawn landmark, or a personal gallery, this workflow ensures color accuracy and structural feasibility.
TL;DR: Key Takeaways
- Resolution: Resize your source image so 1 pixel equals 1 cubic meter block.
- Mapping: Use indexed color tools to restrict the image to the 81 unique colors of the Minecraft concrete palette.
- Execution: Export the mapped grid as a schematic file for WorldEdit or build manually using a grid overlay.
Step-by-Step Guide to Converting Photos to Minecraft Blocks
Step 1: Choose and Crop the Right Source Image
Select a high-contrast photograph with distinct subjects. Images with heavy gradients or low lighting fail to translate well because the Minecraft block palette lacks subtle shading variations. Crop the image to a square or standard aspect ratio to simplify the building footprint.
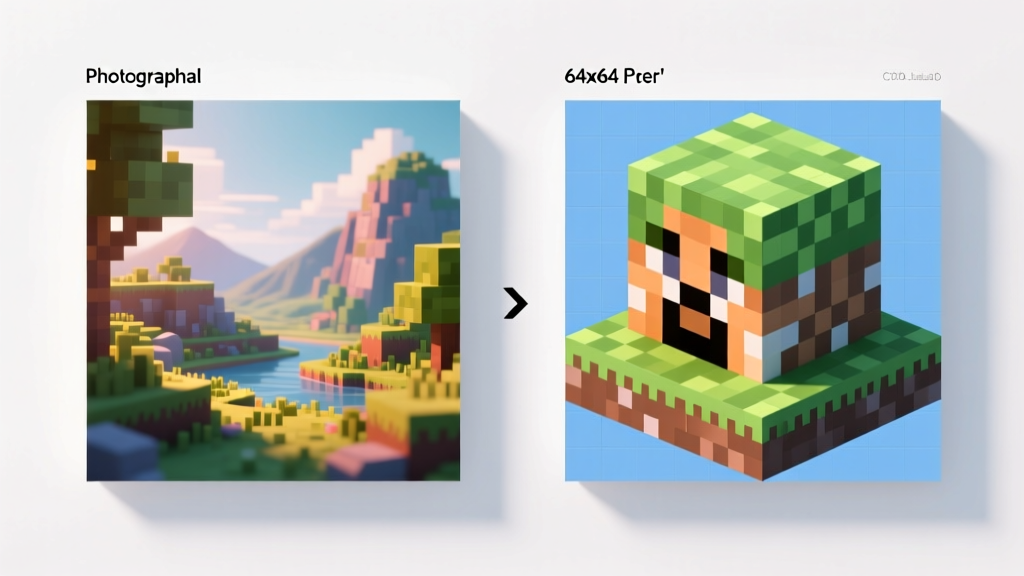
For a standard 1.5 meters tall player scale reference, a 64x64 pixels image will result in a 64x64 blocks footprint, requiring exactly 4,096 blocks per layer. This size offers a balance between recognizable detail and manageable resource gathering in survival mode.
Step 2: Pixelate and Map to the Minecraft Palette
Standard photographs contain up to 16.7 million colors in the RGB spectrum. You must reduce this to match the game's available materials. According to the Minecraft Wiki Block Colors database, glazed terracotta, wool, and concrete offer the widest color ranges.
Open your image in Adobe Photoshop and navigate to Image > Mode > Indexed Color. As detailed in the Adobe Photoshop Color Modes documentation, this forces the image to use a strict color table. Load a custom Minecraft block palette (.act file) to force the software to map every pixel to an exact block equivalent.
Step 3: Export and Build
Once pixelated, overlay a grid to identify individual block placements. For large-scale projects, use a dedicated conversion tool to export the mapped image directly into a .schematic or .litematic file. These files can be imported into Minecraft Java Edition using WorldEdit or Litematica to automate the placement process.
Minecraft Block Palette Comparison
Choosing the right material dictates the visual fidelity and resource cost of your build. Below is a decision framework for selecting your primary building blocks.
| Block Type | Unique Colors | Flammability | Blast Resistance | Best Use Case |
|---|---|---|---|---|
| Concrete | 16 | No | 1.8 | High-contrast, vibrant outdoor builds. |
| Glazed Terracotta | 16 | No | 1.4 | Complex shading (requires directional placement). |
| Wool | 16 | Yes | 0.8 | Temporary builds or indoor gallery walls. |
| Stained Glass | 16 | No | 0.3 | Backlit displays and light-emitting pixel art. |
| Custom Heads/Blocks | 81+ | Varies | Varies | Hyper-realistic mapping (requires server plugins). |
Frequently Asked Questions
How do I turn a picture into Minecraft blocks?
Resize your picture so its pixel dimensions match your desired block dimensions. Then, use an image editor to restrict the color palette to match Minecraft blocks. Each pixel now represents one 1 cubic meter block in the game world.
What is the best minecraft pixel art generator?
Web-based tools like Minecraft Art Converter and ReImage allow you to upload a photo and automatically map it to the standard block palette. These tools generate a printable grid and calculate the exact material requirements for your inventory.
How to build a photo in Minecraft survival mode?
Break the pixelated grid down into manageable 16x16 chunks. Gather materials for one chunk at a time, using a printed reference sheet or a secondary monitor to track your progress row by row to prevent alignment errors.
Conclusion and Next Steps
Translating a photograph into a block-based mosaic requires strict resolution control and accurate color mapping. By resizing your image and restricting the palette to the 81 unique colors available across Minecraft's core building materials, you ensure a 1:1 translation from digital photo to physical build. Your next step is to load your finalized image into a schematic generator, import the file into your Minecraft world via WorldEdit, and begin laying the foundation for your masterpiece.
Related guides
How to Make Pixel Art in Minecraft: Pro Tips & Common Mistakes
Master how to make pixel art in Minecraft with expert tips on block palettes, biome tinting, map art tricks, and avoiding common building mistakes.
How to Create Pixel Art in Minecraft: Step-by-Step Block Guide
Learn how to create pixel art in Minecraft with this step-by-step tutorial. Master grid planning, block color matching, and flat vs. 3D builds.
How to Make Pixel Art in Procreate: Quick-Start Guide
Learn how to make pixel art in Procreate with this quick-start guide. Master canvas resolution, pixel-perfect brushes, and grid setups for crisp retro art.